
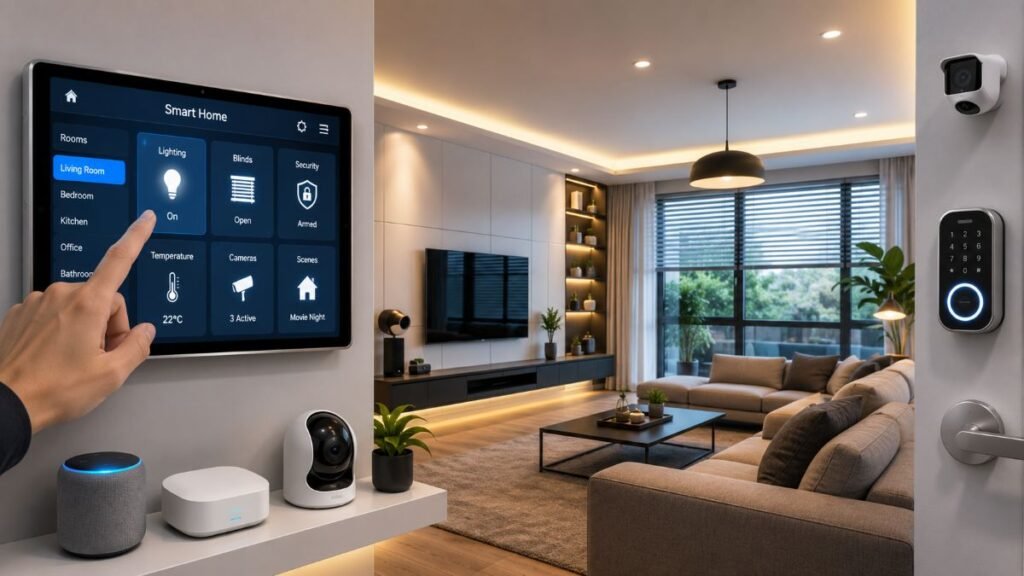
Most homeowners dive into smart tech expecting a futuristic oasis, only to end up knee-deep in tangled wires, dropped Wi-Fi signals, and five different apps just to turn on a single hallway light. Let’s be honest: true smart home installation isn’t about buying gadgets off a shelf; it’s about engineering a seamless ecosystem that works quietly in the background of your daily life.
Pre-Installation Checklist
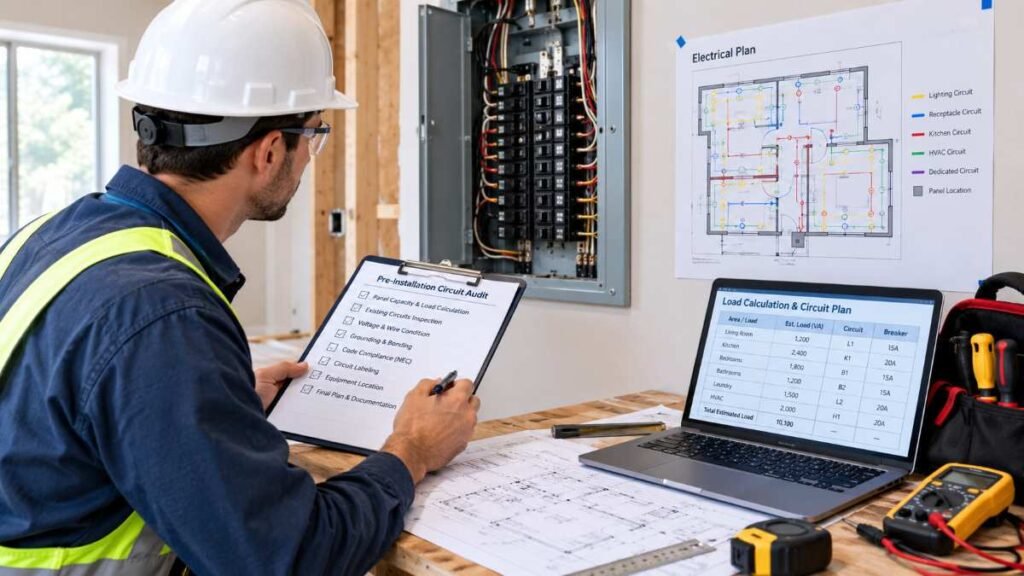
Before unboxing a single piece of hardware, following a disciplined preparation protocol prevents common roadblocks. This three-stage checklist guides you from initial planning through post-setup validation:
- Pre-Purchase Phase: Audit your home’s existing infrastructure, check your Wi-Fi router’s device handling capacity, and map out your primary automation goals (security, climate control, or energy tracking).
- During Installation Phase: Position border routers centrally, assign stable IP addresses to critical hubs if possible, label wires during electrical swaps, and test each sensor individually before sealing wall plates. (Important Safety Note: Always turn off power at the main circuit breaker and verify dead circuits with a voltage tester before inspecting electrical boxes. For any complex or high-voltage wiring, always hire a licensed, qualified electrician.)
- Post-Setup Phase: Verify local automation execution, test remote access over cellular data, confirm multi-factor authentication is active, and schedule routine firmware checks.
Protocol Compatibility Matrix
Navigating wireless standards used to feel like speaking foreign dialects. Fortunately, the rise of the Matter standard—overseen by the Connectivity Standards Alliance Matter FAQ—helps compatible devices work across supported ecosystems like Apple Home, Google Home, and Amazon Alexa. However, keep in mind that being Matter-compatible does not guarantee that every advanced proprietary feature or device mode will function identically across every third-party ecosystem. Furthermore, specific Matter devices may require a compatible controller or ecosystem hub for initial commissioning, remote access, or routine automations depending on the device type. Understanding physical placement and protocol congestion remains critical during any professional smart home installation project.
Communication Technology | Deployment Purpose | Managing Gateway | Range & Device Interoperability |
Matter Over Wi-Fi / Ethernet | High-bandwidth devices (such as security cameras and streaming smart displays) alongside connected plugs and smart bulbs | Compatible controller or ecosystem hub often required for remote access and advanced automation | Uses the home IP network; coverage and performance depend on the device and router. |
Matter Over Thread | Low-power sensors, smart plugs, switches | Thread Border Router required | Self-healing mesh; performance depends on wall materials and node spacing. |
Wireless Communication Layers | Battery-operated detectors & conventional automation relays | Direct USB receiver or central management coordinator | Zigbee functions via the 2.4 GHz band, while Z-Wave relies on sub-GHz regional airwaves. Confirm hardware compatibility prior to installation. |
For deeper dives into specific ecosystem coordination, review our guides on smart home automation and best smart home hub.
DIY vs. Pro Installation Matrix
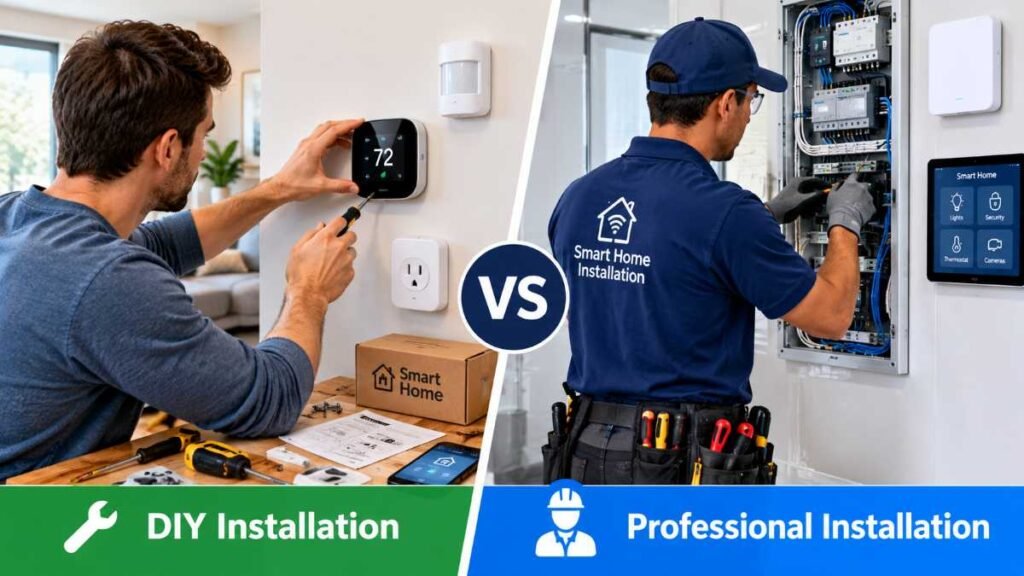
Deciding whether to install smart hardware yourself or hire a licensed contractor depends on technical complexity, electrical safety, and time investment.
Feature / Factor | DIY Installation | Professional Contractor |
Best Suited For | Smart plugs, battery cameras, wireless bulbs, voice assistants | Hardwired switches, motorized shades, main-panel surge protection, whole-home security wiring |
Upfront Cost | Equipment cost only ($0 labor) | Equipment cost + project-dependent professional labor |
Time Investment | Several hours of troubleshooting and configuration | Typically completed over one or more scheduled visits depending on project scope |
Safety Risk | Minimal for plug-in items | Recommended for high-voltage wiring and National Electrical Code (NEC) compliance |
Planning Estimates and Budget Breakdown
Understanding financial commitments prevents mid-project surprises. Based on popular retail hardware pricing benchmarks (such as standard entry-level smart plugs retailing around $15–$25, mid-range thermostats averaging $130–$250, and comprehensive mesh Wi-Fi kits ranging from $200–$500), these figures serve as editorial planning estimates:
Tier Level | Target Scope | Representative Hardware Baseline | Estimated Labor Range (Optional) | Total Estimated Investment Range |
Starter Kit | Smart plugs, bulbs, 1 smart speaker, video doorbell | $150 – $300 | $0 (DIY) | $150 – $300 |
Mid-Range Ecosystem | Mesh Wi-Fi, smart thermostat, smart locks, multi-room switches | $800 – $1,800 | $200 – $600 | $1,000 – $2,400 |
Advanced Whole-Home | Hardwired security cameras, motorized shades, automated water shutoff, pro hub | $3,500 – $7,000+ | $1,000 – $3,000+ | $4,500 – $10,000+ (Project-Dependent) |
Room-by-Room Setup and Practical Scenarios
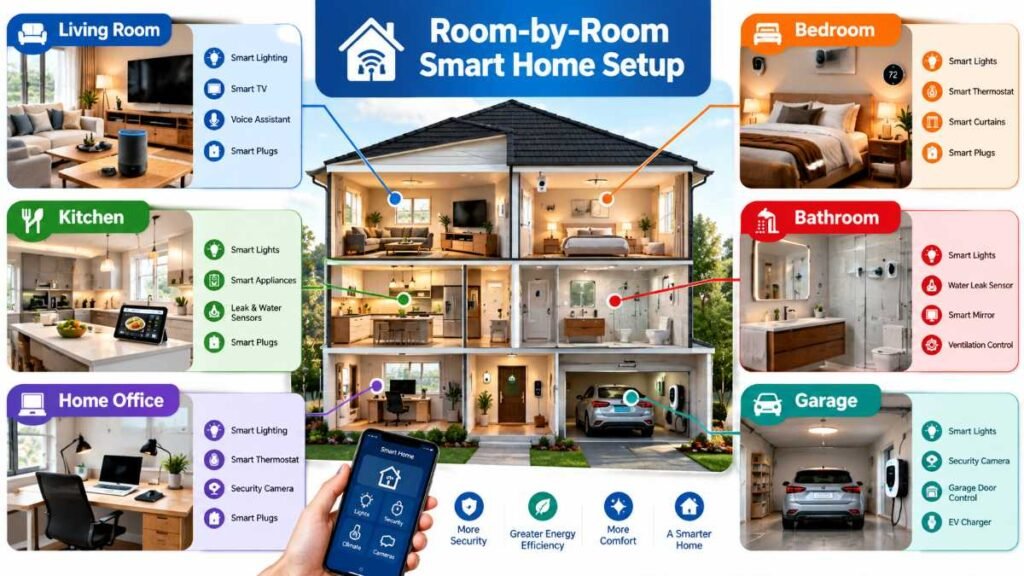
To understand how a deployment unfolds in practice, consider this room-by-room integration plan for a standard suburban home:
- Entryway: Install a video doorbell and smart lock. Reason: Secures the primary access point and enables remote guest entry. Trade-off: Requires stable outdoor Wi-Fi or Thread connectivity.
- Living Room: Set up a smart thermostat and voice assistant hub. Reason: Centralizes climate control and daily scheduling in the home’s most-frequented living space.
- Upstairs Bedroom: Deploy smart plugs and lighting controls alongside a practical bedtime routine (e.g., automatically dimming lights to 10% and adjusting the thermostat to an energy-saving night profile). Reason: Enhances bedtime comfort and daily efficiency without modifying high-voltage wall circuits.
Real-World Connectivity Tip: If a garage or garden sensor keeps disconnecting, check its signal strength and protocol first. A compatible Zigbee or Thread mesh device may extend coverage, while Wi-Fi sensors may need a mesh node or access point. Always match the solution to the device’s supported network.
Power, Safety, and Hardwired Infrastructure
Wireless convenience often masks underlying electrical realities. Smart switches, motorized window treatments, and automated entry points demand robust electrical planning. Before swapping out wall switches, verify whether your electrical boxes feature a neutral wire—a frequent stumbling block during standard smart home installation upgrades across older American housing stock.
Important Safety Notice: Main-panel surge protection and hardwired wall switch replacements involve direct interaction with high-voltage electricity and should always be performed by a qualified, licensed electrician in compliance with the National Electrical Code (NEC). Never attempt to modify live electrical wiring on your own.
Furthermore, protecting your high-end microprocessors from seasonal power surges is paramount. General guidelines highlighted by the National Fire Protection Association Electrical Safety Resources underscore the importance of proper electrical safeguards and professional maintenance. Learn more about safeguarding your property by exploring our resources on whole house surge protector systems and home generator installation.
Security and Network Setup
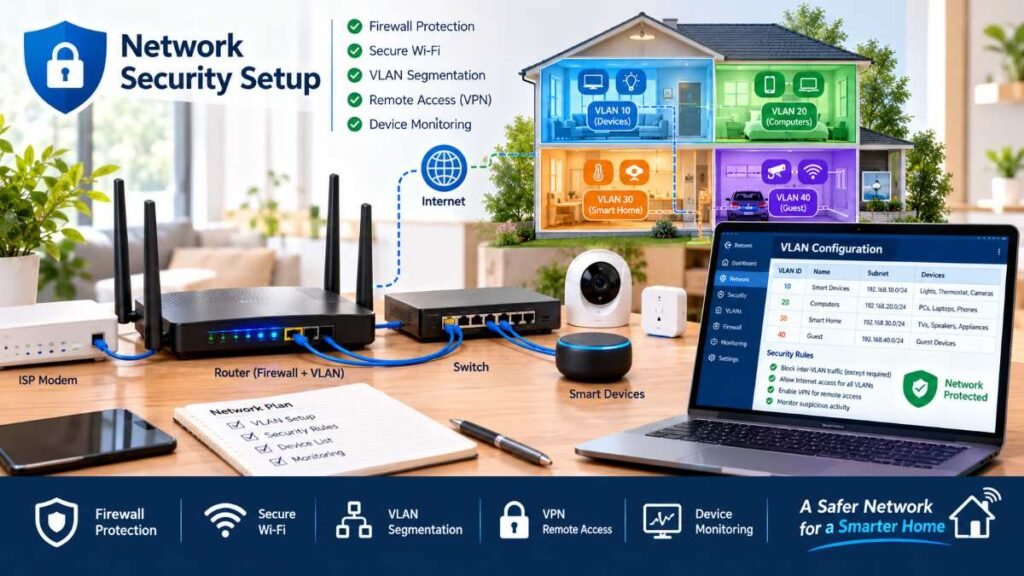
As your walls become wired with smart cameras, intelligent locks, and voice assistants, your digital attack surface expands. Default passwords and open ports are open invitations for malicious actors. Securing your network perimeter is just as vital as securing your physical front door.
Best practices for digital protection include isolating IoT devices on a guest network or dedicated VLAN (keeping in mind that guest isolation behavior varies across router firmware), disabling universal plug-and-play (UPnP) on your router, updating firmware regularly, reviewing device permissions, and enforcing multi-factor authentication across all master accounts. For a comprehensive look at device hardening, “To learn more about securing your network, read expert insights on smart home cybersecurity.”
Energy Management and Climate Optimization
True technological integration should pay for itself over time through efficient resource management. Automated climate scheduling, intelligent shading, and real-time power monitoring transform a passive house into an active energy-saving space.
Implementing a successful smart home installation strategy for climate control involves synchronizing smart thermostats with occupancy sensors and window contact switches. To explore advanced environmental controls, consult our guides on best smart thermostats and matter smart home setup guide. Furthermore, utilize smart plugs equipped with energy monitoring chips to track appliance power draws over billing cycles—though keep in mind that actual monthly utility savings depend heavily on personal usage habits and regional utility rates.
Troubleshooting Connectivity Faults
Even the most meticulously engineered systems encounter occasional hiccups. Use this diagnostic table to resolve frequent integration hurdles:
Common Issue | Probable Root Cause | Safe Diagnostic Step | Recommended Resolution |
Smart Switch Offline | Power interruption or Wi-Fi credential change | Verify circuit breaker status and physical air-gap toggle | Power cycle the switch and re-enter network credentials via companion app |
Thread Pairing Failure | Border router credential mismatch or distance | Check app diagnostic logs for mesh topology errors | Confirm that the device and controller are using the correct Matter/Thread network credentials, then follow the manufacturer’s re-pairing instructions. |
Cloud Automation Lag | Internet service disruption or API timeout | Test browser connectivity on a local computer | Transition routines to local execution only if both controllers, triggers, and target devices support offline operation |
Whether you are expanding into automated outdoor illumination via smart outdoor lighting guide recommendations or upgrading your entry security using insights from best smart locks, methodical troubleshooting remains essential.
💡 Final Verdict & Expert Recommendations
Embracing a fully integrated smart lifestyle is about reclaiming your time, enhancing security, and crafting an environment that responds intuitively to your household. Every protocol you standardize lays the groundwork for a reliable living space.
Ready to begin? Review your pre-installation checklist, audit your network blueprint today, and take the first deliberate step toward a well-engineered smart home installation!
Frequently Asked Questions
FAQ 1: How much does a professional smart home installation cost?
DIY starter kits range from $150 to $300, while whole-home builds span $1,000 to over $10,000 based on property size and professional labor requirements.
FAQ 2: What is the best smart home ecosystem?
Top choices include Apple Home, Google Home, and Amazon Alexa. Using open standards like the Connectivity Standards Alliance Matter Standard during a smart home installation prevents vendor lock-in.
FAQ 3: Can I install a system without rewiring?
Yes. Wireless protocols and retrofit switches avoid wall tearing. Always verify neutral wires or consult a professional before starting any electrical smart home installation.
FAQ 4: What are the main pitfalls or risks to watch out for?
Challenges include network congestion and cloud dependency. Prioritizing local control during your smart home installation ensures continuity during internet drops.
FAQ 5: Is a smart home setup truly worth it?
Yes. A well-planned smart home installation delivers energy savings, enhanced security, and everyday convenience when your smart home installation is scaled gradually over time.
Verified Research Sources
Editorial Disclaimer
This content is independently researched and produced by SmartHome Zenith. Opinions are formulated through technical evaluation, specification reviews, and current smart-home industry standards.
About the Author
Dambar C.P. Rajbanshi is a digital content creator and researcher who writes about residential automation standards, network topology security, and smart ecosystem integration.