
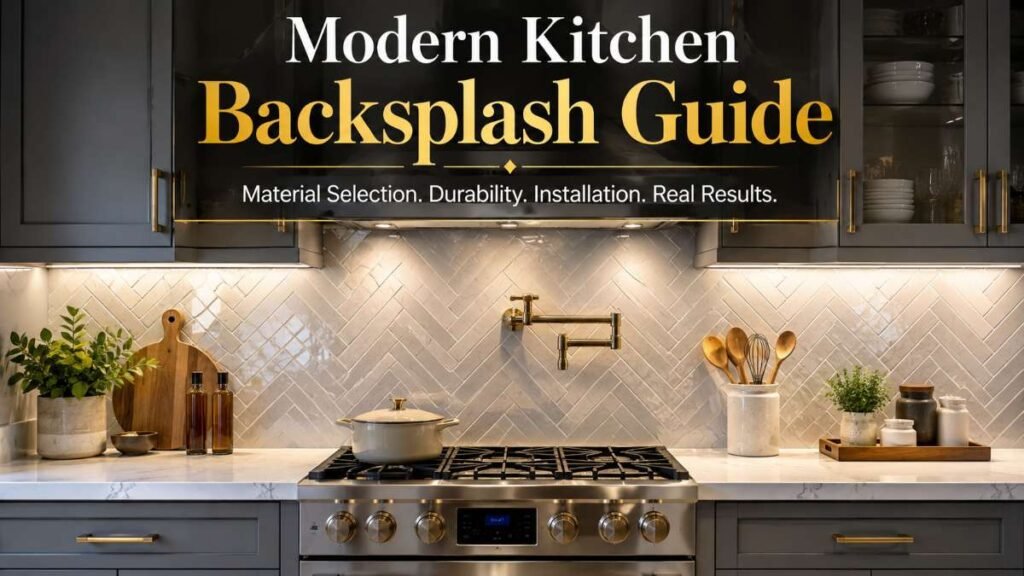
A kitchen can feature custom cabinetry and premium countertop stone, yet still feel noticeably incomplete if the wall behind the workspace is overlooked. Exploring functional Kitchen Backsplash Ideas requires understanding how daily cooking subjects vertical surfaces to heat, airborne grease, steam, and frequent scrubbing. Choosing an unsuitable wall finish often leads to discolored grout lines, moisture issues, or hard-to-clean oil stains over time. Selecting the right wall treatment requires balancing visual appeal with long-term maintenance realities, ensuring the surface withstands years of active meal preparation.
Analyzing Your Kitchen’s Splash Zones and Wall Dynamics
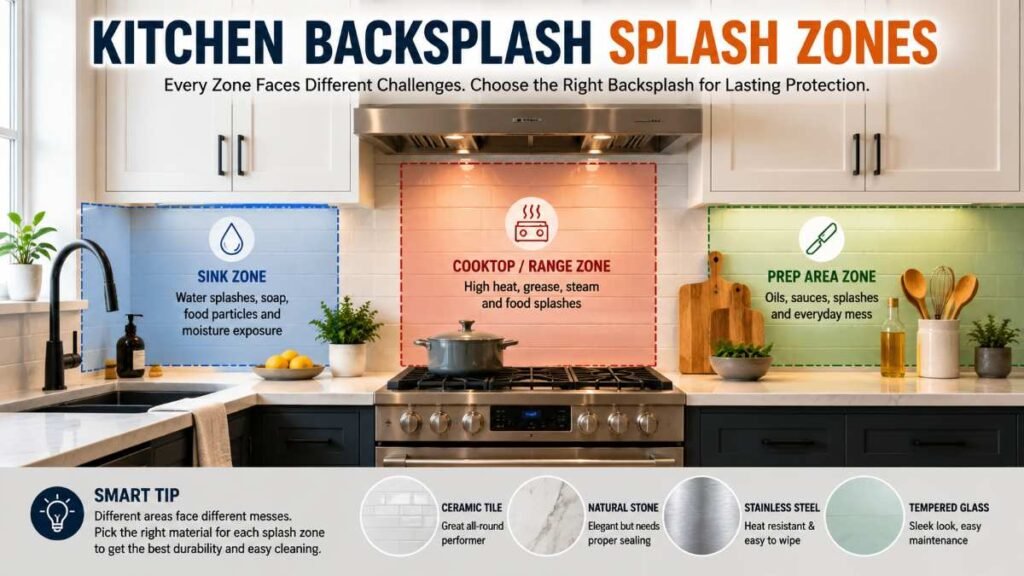
Before selecting tiles or mixing mortar, evaluate how your kitchen functions during everyday cooking, as exploring practical Kitchen Backsplash Ideas starts with understanding your space. Different sections of a kitchen wall face distinct environmental stresses:
- The Range & Cooktop Area: This wall section takes the brunt of everyday cooking—enduring direct heat, rising steam, fine grease mist, and stubborn sauce splashes.
- The Sink & Prep Area: This zone copes with perpetual water splashing, detergent residue, acidic food juices, and lingering moisture along the countertop seal.
Placing an untreated, highly porous natural stone directly behind a high-heat cooktop can cause grease to penetrate deep into the substrate, making surface cleaning ineffective. Understanding these micro-environments prevents costly material failures down the road.
If you are planning a comprehensive layout refresh, avoiding early spatial and material sequencing errors is critical. Review these kitchen remodeling mistakes to streamline your planning before committing to layout changes or ordering finishes.
Comparative Material Analysis
No single material fits every kitchen environment. The ideal finish depends on your cooking habits, maintenance expectations, and overall budget.
Surface Material | Thermal Durability | Maintenance & Upkeep | Ideal Placement |
Ceramic & Porcelain Tile | Handles typical kitchen heat without warping or cracking | Durable tile face; grout lines benefit from routine cleaning | High-splash prep zones and walls directly behind active burners |
Natural Stone (Marble, Granite, Quartzite) | Resists heat well, though surface protection depends on stone density | Requires regular attention; sealing routines vary by mineral composition | Decorative focal walls where organic texture and variation shine |
Stainless Steel / Metal Sheets | Withstands direct cooktop warmth and open flame exposure | Simple daily wipe-down; sensitive to surface scuffs and fingerprints | Industrial, contemporary, or heavy-duty cooking setups |
Tempered Glass Panels | Reliable heat stability when produced to strict safety standards | Smooth surface cleans quickly thanks to seamless design | Modern or compact kitchens looking to bounce natural light |
Ceramic and Porcelain Tile
Porcelain generally features a lower water absorption rate than standard ceramic, making it exceptionally durable behind sinks and cooktops. If an individual tile suffers impact damage, replacing an isolated piece is far simpler than replacing a continuous slab.
Maintenance Reality: In many everyday backsplash installations, grout joints become the primary maintenance weak point long before the tile surface itself shows significant wear. Grease and cooking vapors settle into unsealed cementitious joints over time.
Natural Stone
Marble, granite, and quartzite bring architectural depth to a kitchen, but they are not maintenance-free. Certain stone varieties are susceptible to etching from acidic ingredients like lemon juice or vinegar, and porous slabs can absorb oil if left unsealed. Rather than applying a universal sealing schedule, always follow the stone supplier’s specific care instructions.
Stainless Steel and Sheet Metal
Metal paneling creates a sleek, professional kitchen aesthetic and copes effortlessly with cooktop heat. However, water spots, fingerprints, and fine surface scratches are more noticeable under direct light than they are on patterned tile.
Tempered Glass Panels
Solid glass eliminates grout lines almost entirely, creating a smooth, hygienic surface that wipes clean easily—making it one of the most practical Kitchen Backsplash Ideas for modern homes. However, large panels demand precise wall measurement and professional handling, as field modifications cannot be made once the glass has been tempered.
Material Trends and Real-World Performance
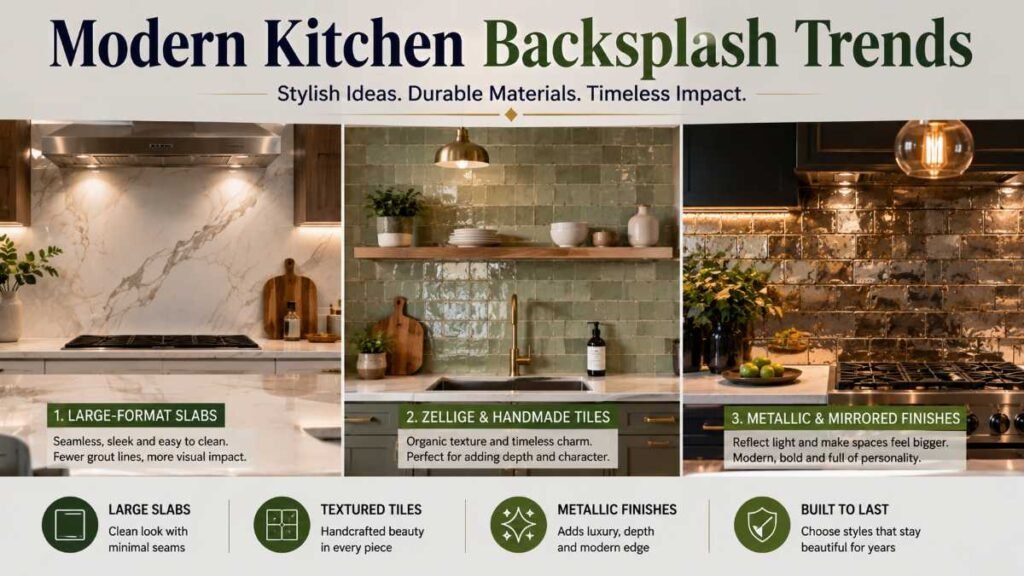
Design trends should always be evaluated against practical, long-term performance. Below is a realistic look at three popular design approaches:
Large-Format Slab Backsplashes
Extending countertop material vertically up the wall creates a clean, continuous transition.
- Pros: Minimal seams behind the cooktop simplify cleaning and highlight continuous veining.
- Cons: Slabs require higher fabrication and transportation costs, precise laser templating, and custom cutouts for electrical outlets. Pair this seamless wall treatment with a properly planned kitchen sink installation for a clean, cohesive layout.
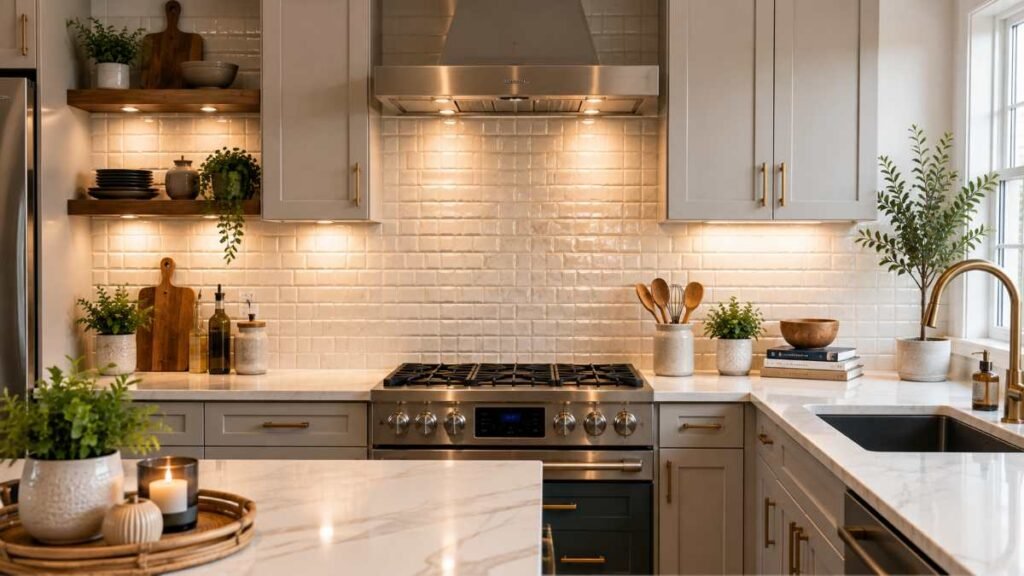
Textured Zellige and Handmade Terracotta Tiles
Zellige-style tiles offer intentional variations in shade, thickness, and edge straightness.
- Pros: The hand-crafted surface catches light dynamically, adding rich texture and character.
- Cons: Installation takes patience. Variations in tile thickness require careful setting techniques so the finished grout joints look intentional rather than misaligned.
Metallic and Mirrored Accents
Mirrored or brushed metal finishes bounce ambient light into darker kitchen corners.
- Pros: Visually expands the room and makes compact counters feel noticeably brighter.
- Cons: Reflective surfaces highlight smudges, steam marks, and splatter residue quickly, requiring frequent maintenance. If counter space is tight, combine reflective finishes with these small kitchen island ideas for saving space to optimize your functional footprint.
Step-by-Step Planning: Executing a Professional Installation
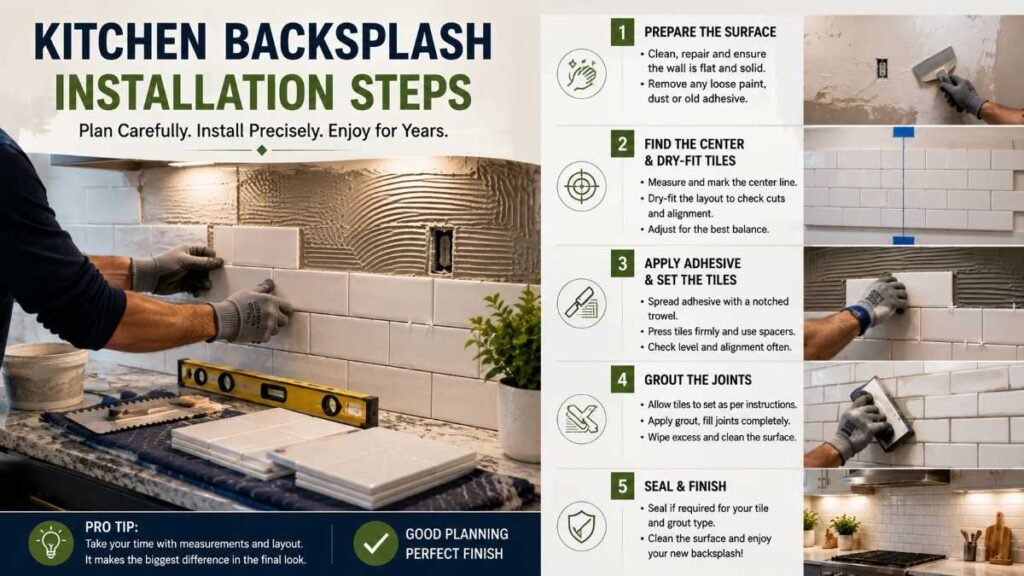
Even premium materials will yield a disappointing result if applied over an unprepared substrate. A durable installation relies heavily on thorough surface preparation and careful layout planning.
Step 1: Substrate Preparation and Wall Integrity
Start by stripping away loose wallpaper, scraping off old adhesive residues, and repairing damaged drywall. The surface must be clean, structurally sound, and flat. For high-moisture or heat-exposed zones, reference technical standards set by the Tile Council of North America to select compatible backer boards and setting materials.
Step 2: Finding Center and Dry-Fitting the Layout
Countertops are rarely perfectly level across their full length.
- Measure the full installation width and mark the true vertical center line.
- Dry-lay tiles outward from the center toward corners to evaluate edge cuts.
- Adjust layout positioning to avoid leaving narrow, awkward tile slivers at visible corners or under cabinet edges.
- Establish a level horizontal reference line using a laser or spirit level to guide the base row.
Step 3: Mortar Application and Setting
Apply a thin-set mortar or adhesive formulated for your specific tile material, size, and substrate. Use the notch size trowel recommended by the tile manufacturer, working in manageable 2-foot sections so the mortar does not skim over before tiles are set. When installing large tiles or uncoupling membranes, consult Schluter Systems installation guidelines for proper coverage and bonding protocols.
Step 4: Grouting and Sealing Protocols
Allow the setting bed to cure completely according to the manufacturer’s timeline before applying grout:
- Epoxy Grout: Formulated for high stain resistance, low water absorption, and strong chemical resistance, making it an excellent choice behind cooktops.
- Cementitious Grout: May require a curing period prior to applying a penetrating sealer, depending on product specifications and environmental humidity.
When to DIY — and When to Hire a Professional
Evaluating your personal experience level against project complexity prevents mid-renovation setbacks when executing your Kitchen Backsplash Ideas:
- Ideal for DIY: Simple ceramic or porcelain subway tiles on flat, well-prepared drywall with standard wall outlets.
- Better Left to Professionals: Large-format stone slabs, heavy natural stone tiles requiring custom wet-saw cuts, delicate glass panels, or walls with structural damage that requires substrate reconstruction.
Coordinating Lighting and Surrounding Finishes
Lighting directly impacts how a backsplash looks once installed:
- Direct Under-Cabinet Strip Lighting: Highlights relief and subtle texture in hand-crafted or dimensional tile.
- Diffused Fixtures: Help reduce harsh reflections and glare on high-gloss ceramic or polished glass panels.
Integrating modern controls ensures lighting adapts easily to meal preparation or evening ambiance. Consider incorporating strategies from our smart home automation guide to manage prep lighting hands-free.
If you are updating surrounding cabinetry or adjoining spaces alongside your backsplash, coordinate your color palette using these kitchen cabinet painting techniques or explore wider color planning with our interior painting ideas.
Conclusion: Balancing Form with Function
A great kitchen transformation rarely comes down to finding the most expensive materials—it relies on selecting surfaces that stand up to your everyday cooking style. Exploring practical Kitchen Backsplash Ideas means evaluating heat exposure, choosing low-maintenance materials, preparing the substrate properly, and executing a clean layout. When you align design choices with real-world cleaning habits, you create a beautiful feature wall that protects your investment and elevates your space for years to come.
Frequently Asked Questions
Q1: What is the best backsplash to use in a kitchen?
Answer: Glazed ceramic and porcelain tiles offer the best overall Kitchen Backsplash Ideas for durability, heat resistance, and budget. For a seamless, grout-free look behind cooktops, quartz slabs work best.
Q2: What backsplash options should you avoid?
Answer: Avoid unsealed natural stone, porous brick, and cheap peel-and-stick vinyl tiles near stoves. Cooking grease permanently stains unsealed surfaces, while cooktop heat warps and peels vinyl adhesive over time.
Q3: What is the current trend in kitchen backsplashes?
Answer: Popular Kitchen Backsplash Ideas include continuous full-height stone slabs and textured handcrafted Zellige tiles. Homeowners prefer these minimal-grout designs for their easy maintenance and rich architectural character.
Q4: What is the best material to use for a kitchen backsplash?
Answer: Porcelain tile and engineered quartz are top choices. Porcelain delivers budget-friendly thermal resistance, while quartz offers a smooth, seamless surface. Both withstand daily steam and oil splatters effortlessly.
Author By: Dambar C. Rajbanshi About: A renovation strategist and home improvement enthusiast. Dambar specializes in budget-smart planning and functional kitchen design. He is dedicated to helping homeowners create spaces that perfectly balance beauty and practicality