
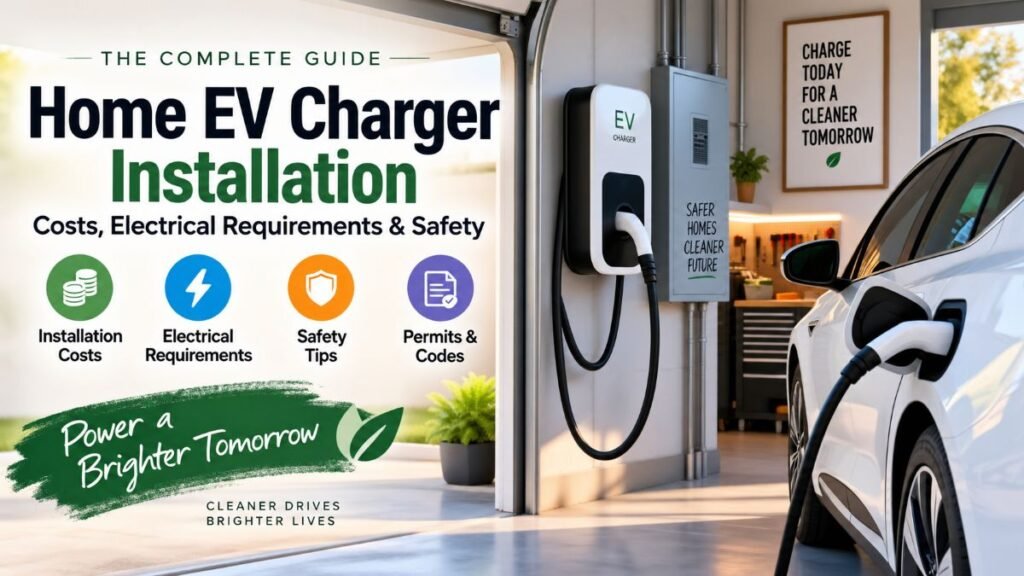
Waking up to a dead EV battery because of a slow 120V outlet is every owner’s worst nightmare. If you want seamless overnight range instead of daily charging anxiety, a dedicated home EV charger installation is an absolute game-changer.
But powering a high-voltage Level 2 charger isn’t just plug-and-play—it requires navigate local codes, electrical panel limits, and costly wiring traps. Here is how to upgrade your garage safely without frying your home circuit.
Understanding Your Charging Options: Level 1 vs. Level 2
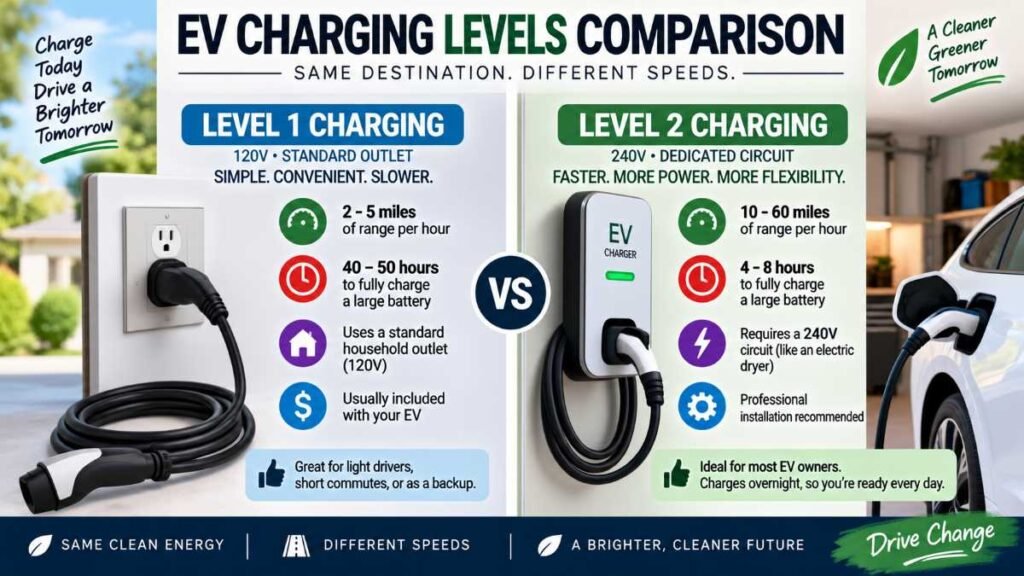
Before calling an electrician, you need to understand what kind of power infrastructure your vehicle demands. Level 1 charging relies on the standard 120V household cord that usually comes with your vehicle, plugging into a regular garage outlet to add 2 to 5 miles of range per hour—taking 40 to 50 hours to fill a large battery pack. In contrast, operating on 240V, a Level 2 home EV charger installation delivers roughly 10 to 60 miles of range per hour, comfortably recharging an empty EV battery overnight in 4 to 8 hours.
Checking Panel Capacity & Real-World Scenarios
The biggest hurdle for homeowners is figuring out if their current electrical panel can carry the extra weight. Since EV chargers pull maximum current for over three hours straight, the National Electrical Code treats them as continuous loads. Because of this, safety rules require the circuit breaker to handle 125% of the charger’s steady draw—meaning a standard 40-amp Level 2 charger must be hooked up to a dedicated 50-amp breaker and a solid 240-volt circuit.
To see how an upcoming home EV charger installation works in practice, consider these three real-world scenarios:
- Scenario A (Modern 200A Panel): The garage is 20 feet away from the main panel. After a load calculation confirms adequate capacity, the electrician completes a straightforward, mid-range run.
- Scenario B (Older 100A Panel): Total household load is close to limits. A professional load calculation is mandatory, often requiring a service upgrade or smart load-shedding device.
- Scenario C (Detached Garage): Requires heavy-gauge trenching over 75+ feet, driving up labor and material expenses despite an otherwise healthy main panel.
Panel & Service Size | Typical Capability | EV Charger Suitability | Potential Upgrade Need |
100-Amp Panel | Older homes, gas appliances | Marginal | Requires professional load calculation; may need service upgrade. |
150-Amp Panel | Moderate electrical load | Moderate | Might support a lower-amperage charger or load management. |
200-Amp Panel | Standard for modern US homes | Excellent | May support a standard 40A or 50A charger subject to load rules. |
400-Amp Panel | Large homes, heavy electric load | Premium | Provides substantial capacity for multiple high-draw chargers. |
If your panel is near capacity, smart power management devices or dynamic load-shedding hubs can automatically throttle the charger when heavy appliances kick on. Similar load considerations apply when protecting your system with a Whole House Surge Protector.
Hardwired vs. Plug-In Units: Which is Better?
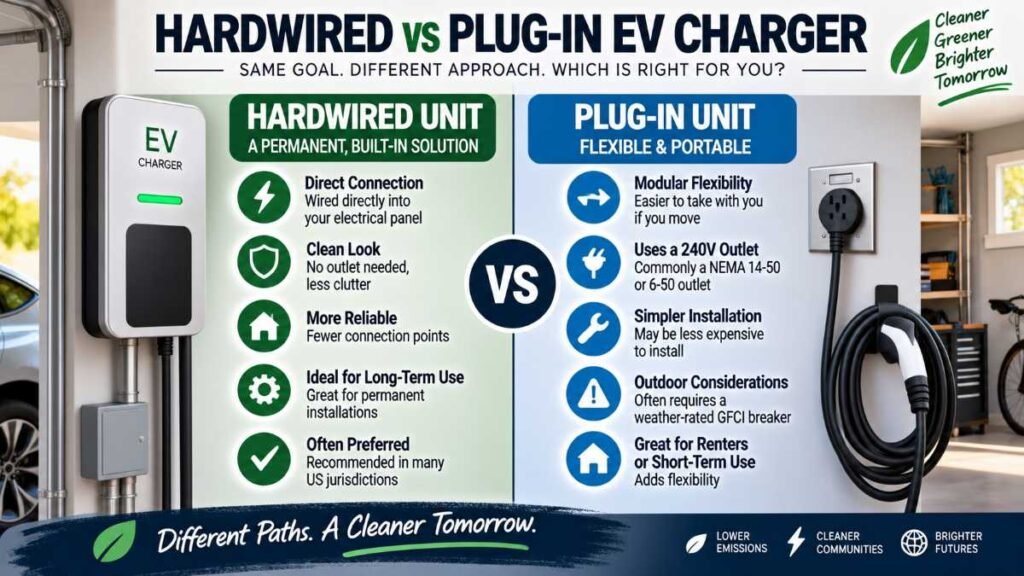
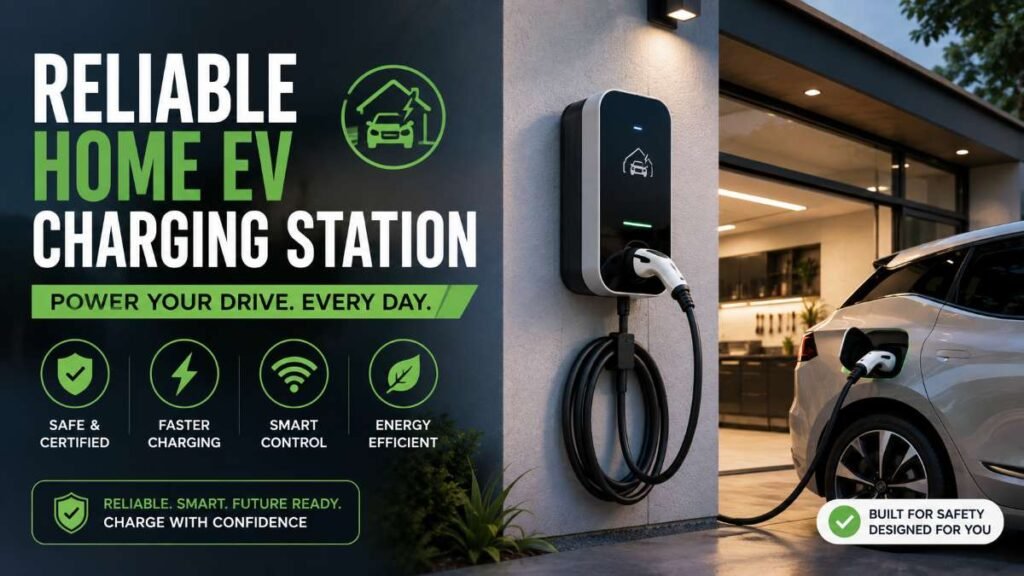
When picking out your hardware, you will generally choose between a plug-in unit (using a heavy-duty NEMA 14-50 or 6-50 outlet) or a hardwired unit.
- Plug-In Units: Offer modular flexibility if you move houses. However, outdoor setups in many US jurisdictions require a weather-rated GFCI breaker, which can sometimes cause nuisance tripping with smart units.
- Hardwired Units: Wired directly into a junction box without an intermediate plug. They support higher-output configurations and provide a cleaner, safer long-term installation.
For safe guidance on equipment standards, cross-reference certified hardware guidelines provided by the Energy Star Home Energy Program. Furthermore, expanding your charging setup often pairs well with broader Smart Home Automation upgrades or selecting the Best Smart Home Devices for your garage workflow.
The Step-by-Step Installation Process
Executing a safe home charging setup requires a structured workflow to avoid code violations or inspection failures:
- Site Assessment: Determine parking orientation relative to your electrical panel to minimize wiring run distances and material costs.
- Choosing the Right Hardware: Select an amperage output matching your vehicle’s onboard charger capacity.
- Permitting: File an electrical permit with your local Authority Having Jurisdiction (AHJ) to ensure compliance with regional building codes.
- Running the Dedicated Circuit: Your electrician will install appropriately sized conductors in the required raceway with the proper breaker size.
- Mounting and Inspection: The unit is mounted securely to a stud or masonry wall, tested, and signed off by a municipal building inspector.
Cost Breakdown: What to Expect in the US
The total price tag for a residential home EV charger installation varies depending on labor rates, hardware features, and distance to the electrical panel:
- Charger Hardware: $400 to $1,200 (Wi-Fi-enabled smart chargers sit on the higher end).
- Electrician Labor & Standard Materials: $300 to $1,000 (Covers conduit, standard wire runs, and mounting).
- Long-Distance Wiring / Trenching: $250 to $1,500+ (Required for detached garages or long cable distances).
- Municipal Permits & Inspection Charges: $100 to $300 (Depends entirely on local city or town building department fees).
- Panel Upgrades (If Needed): $2,000 to $4,500 if a heavy service upgrade is required by your load calculation.
Federal Tax Credit Update
The federal Section 30C Alternative Fuel Vehicle Refueling Property Credit applied through June 30, 2026. For installations placed in service after that date, check current state, local, and utility incentives. Consult the IRS before making financial decisions, or monitor updates directly through the U.S. Department of Energy Alternative Fuels Data Center.
Before You Hire an Electrician: What to Check
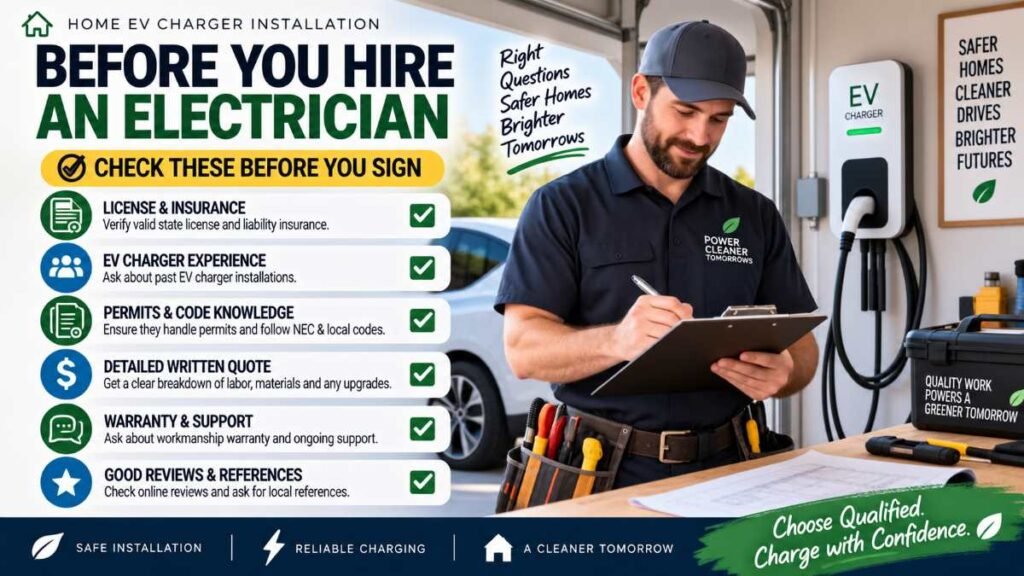
To ensure your project goes smoothly, verify these crucial details with your contractor before signing any agreements:
- License & Insurance: Ensure your electrician is fully licensed, bonded, and insured for high-voltage residential electrical work.
- Permit Responsibility: Confirm explicitly that the contractor will pull municipal permits and schedule final inspections.
- Detailed Written Quote: Ensure the estimate outlines labor, materials, breaker sizing, and whether a panel upgrade is included.
- Breaker & Wire Specifications: Verify that they are installing a dedicated circuit adhering strictly to the NEC 125% continuous load rule.
Manufacturer Warranty: Check that both hardware and labor come with reliable warranties.
Common Mistakes to Avoid
Homeowners attempting or rushing an home EV charger installation often make avoidable mistakes that risk safety or code compliance:
- Using an Existing Standard Outlet: Plugging a heavy-duty portable EVSE into an unrated household outlet or extension cord can cause severe overheating and electrical fires.
- Ignoring the Load Calculation: Skipping a professional load calculation on older panels can result in tripped main breakers.
- Wrong Breaker or Wire Sizing: Undersizing copper conductors relative to continuous draw violates safety codes.
- Skipping Local Permits: Bypassing the AHJ permitting process creates complications during future home sales.
- Mismatched Charger Output: Installing a 48A hardwired charger when your vehicle maxes out at 32A results in paying for unused capacity.
Smart Energy Management & Charging Integration
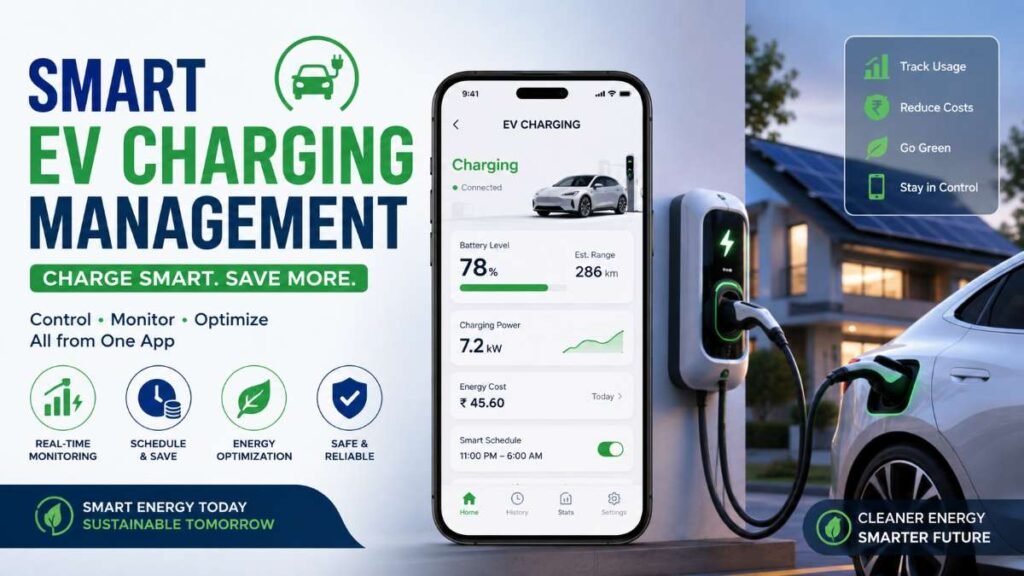
Optimizing your EV’s power schedule goes beyond simple overnight plugging. Integrating your charging station with modern home networks allows you to track power draw, schedule sessions during off-peak utility hours, and prevent overloading your home service panel. For properties integrating heavy appliances, a coordinated approach similar to planning a Smart Home Installation ensures all high-load devices coexist safely.
Pros and Cons of Upgrading to Home Charging
Advantages | Disadvantages |
Ultimate Convenience: Waking up with a fully replenished battery every morning without visiting public stations. | Upfront Capital Cost: Initial hardware and professional labor can range from $800 to $2,500+. |
Massive Savings: Charging on residential overnight Time-of-Use (TOU) utility rates is vastly cheaper than public fast chargers. | Electrical Limitations: Older properties with heavy baseline loads may require electrical panel upgrades. |
Property Value: Modern EV charging infrastructure adds tangible resale appeal to contemporary homebuyers. | Permanent Fixture: Units are tethered permanently to your garage layout and parking orientation. |
Frequently Asked Questions
FAQ 1: What are the electrical requirements for an EV charger?
A Level 2 charger requires a dedicated 240-volt circuit with a 40A to 50A breaker. Following NEC rules, your circuit must support 125% of the charger’s continuous draw to handle heavy power flow safely.
FAQ 2: How much electrician charges to install an EV charger?
In the US, standard electrician labor runs between $300 and $1,000. Complex setups requiring extra wiring, trenching, or panel upgrades will increase your home EV charger installation costs.
FAQ 3: What are the electrical requirements for an EV charger consumer unit?
Your main service panel needs enough available amp capacity—usually a 200A panel is ideal. Older 100A panels may require a service upgrade or a smart load management device before setup.
FAQ 4: What does it cost to install an EV home charger?
A complete home EV charger installation averages $800 to $2,500+. This covers hardware ($400–$1,200), electrician labor, local municipal permits, and any necessary panel upgrades to complete your home EV charger installation safely.
Conclusion & Expert Recommendation
Embarking on a residential home EV charger installation project transforms electric vehicle ownership from a logistical chore into effortless daily convenience. To ensure a safe project, follow this 4-step takeaway:
- Check Electrical Capacity: Have a professional evaluate your panel load limits.
- Choose the Right Charger: Match the amperage output to your vehicle’s onboard charging capabilities.
- Hire a Qualified Electrician: Work exclusively with a licensed, insured contractor to run dedicated circuits safely.
Get Permits & Inspection: Secure local municipal permits and ensure a formal building inspection sign-off.
Editorial Note & Safety Disclaimer
This article provides general educational information for planning purposes. Electrical installation requirements vary by location, equipment specs, and existing service capacity. Consult a qualified, licensed electrical professional before beginning any installation work.
- Written by: Dambar C. Rajbanshi (Renovation strategist and home improvement enthusiast specializing in budget-smart planning and functional design)
- Editorial Review: Reviewed for clarity, accuracy, and general safety considerations
- Last Updated: August 2026