
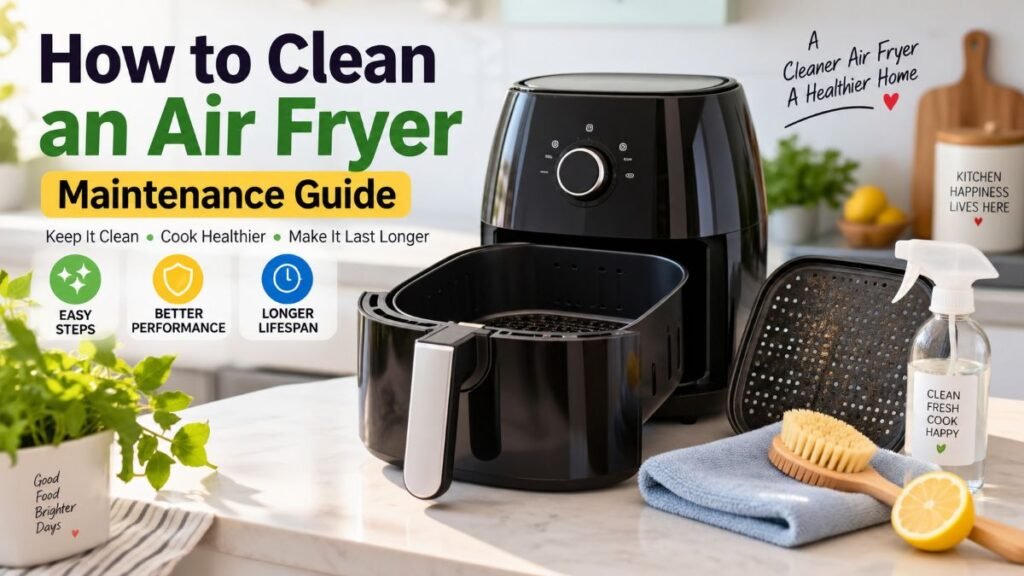
Have you ever turned on your appliance only to notice lingering smoke or a faint burnt-oil smell? That usually means grease has accumulated in hidden spots. Over time, build-up creates a stubborn residue layer that can affect food flavor, cause excess smoke, and impact heating performance. Learning how to clean an air fryer safely helps protect your appliance, keeps non-stick coatings in top condition, and extends your unit’s overall usability.
Safety First: The Unplug and Cool-Down Rule
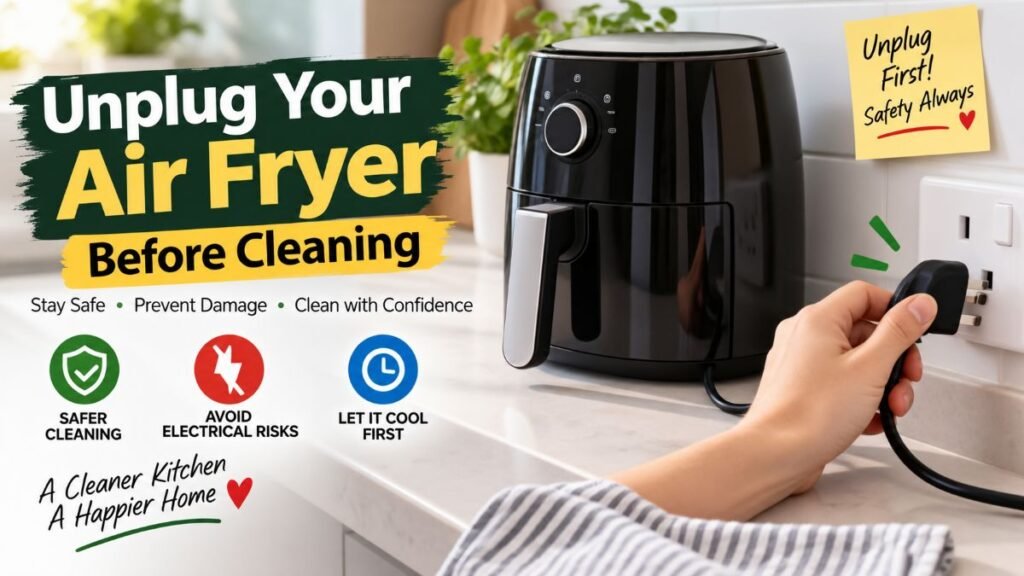
Before applying water, soaps, or brushes to your appliance, safety must take priority. Skipping these initial steps risks thermal shock damage or potential electrical hazards.
- Unplug immediately: Never begin maintenance while the unit remains connected to an electrical outlet. Even when switched off, internal components stay connected to live power lines.
- Allow the appliance to cool completely: Never pour cold water directly into a hot drawer. Major manufacturers like Ninja Kitchen and Cosori advise that rapid temperature drops cause thermal stress, which can warp metal frames or cause non-stick coatings (such as PTFE or ceramic) to degrade over time.
- Remove loose debris: Once cool, discard loose crumbs or excess liquid grease into the trash—never down your sink drain where cooled grease blocks plumbing.
Maintaining your kitchen appliances correctly protects your equipment, similar to how following our smart air fryer guide prevents common operational mistakes during daily cooking routines.
Daily Maintenance: The Post-Cook Quick Clean
Knowing how to clean an air fryer after every single use prevents grease from baking into hard carbon deposits. A quick 5-minute routine keeps the appliance in top condition.
Step 1: Drain Residual Oil
Once the pan cools, wipe out liquid oil using a paper towel. This reduces the amount of soap needed and protects municipal drainage systems.
Step 2: Wash the Basket and Pan
Fill your sink with warm water and a few drops of grease-cutting liquid dish soap. Submerge the removable basket and tray. Use a non-abrasive microfiber cloth or soft sponge to wipe down all surfaces. Avoid steel wool or abrasive scouring pads, as they scratch non-stick layers. If your basket still smells greasy after washing, check the underside of the tray—oil often hides around rubber bumpers and metal edges.
Step 3: Rinse and Air Dry
Rinse thoroughly with warm water to remove soap film. Dry completely with a towel or let components air dry on a rack before reassembling.
Deep Cleaning Caked-On Air Fryer Grease
When grease is left uncleaned over multiple cooking sessions, heat bakes it into a sticky, brown layer. Standard dish soap alone may not break down this residue.
Deep Cleaning Stage | Action Required | Ingredients / Tools | Surface-Care Consideration |
1. Mix Paste | Combine 3 parts baking soda with 1 part water | Baking soda, tap water | Mild cleaning mixture when used gently |
2. Paste Application | Spread paste over stubborn residues and leave for 15 min | Gentle microfiber cloth | Softens caked grease without harsh scrubbing |
3. Gentle Scrubbing | Rub lightly in circular motions using minimal pressure | Non-scratch sponge or soft brush | Lifts grime without applying heavy pressure |
4. Thorough Rinse | Wipe away all paste with a clean damp cloth | Clean warm water | Prevents powdery residue from transferring to food |
The Baking Soda Paste Method
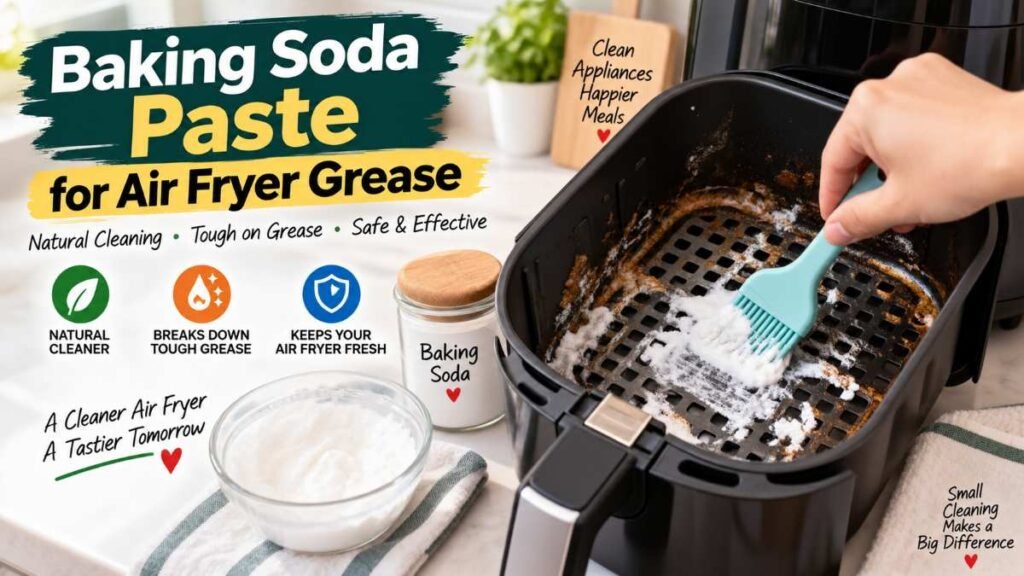
When mastering how to clean an air fryer, baking soda (sodium bicarbonate) is helpful for loosening sticky organic grease deposits when applied gently:
- Mix the Paste: Combine three parts baking soda with one part water until a smooth, thick paste forms.
- Apply to Problem Areas: Spread the paste over baked-on grease inside the basket, basket grill gaps, and pan corners.
- Wait 15–20 Minutes: Allow the paste time to soften stubborn deposits.
- Gently Scrub: Use a soft-bristled nylon brush or non-scratch sponge in light circular motions without applying harsh pressure.
- Rinse Thoroughly: Wipe away all paste remnants with a clean, damp cloth, ensuring no powdery residue stays behind.
How to Safely Clean the Heating Element and Interior Main Unit
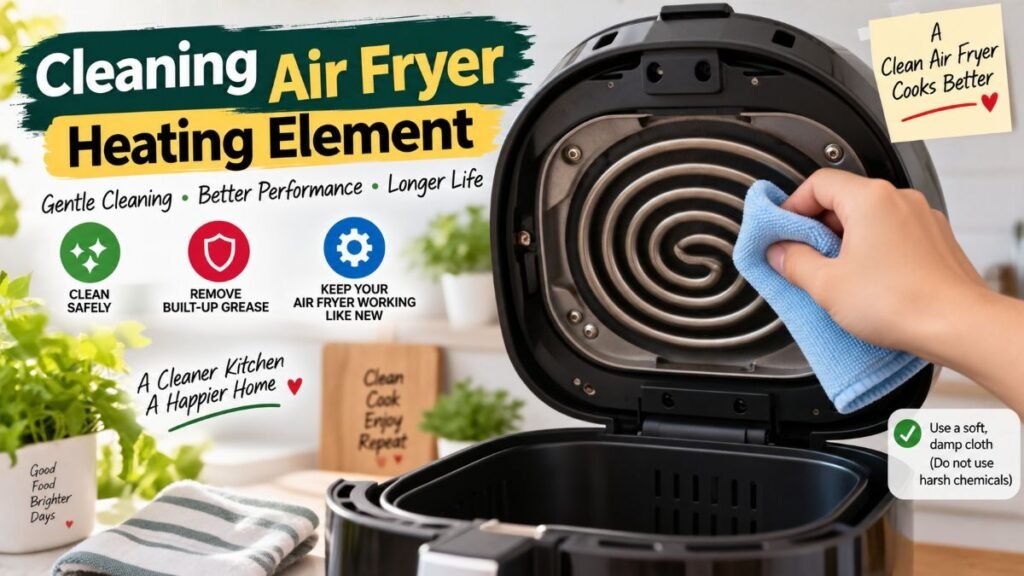
The interior ceiling houses the heating element and fan assembly. Over time, splattering grease attaches to these components, causing burning smells during high-temperature cooking.
Crucial Safety Warning: Always consult your specific model’s manual before attempting interior cleaning. Never submerge the main outer housing unit in water or run it directly under a tap.
Safety & Cleaning Step | Inspection & Execution Process | Manufacturer Tip |
Step 1: Check Manual | Confirm if inverting or tilting your model is permitted | Refer to official brand care guide |
Step 2: Wipe Heating Coil | Use a barely damp microfiber cloth (if permitted) | Never saturate internal electronics |
Step 3: Detail Around Fan | Gently brush away loose debris behind fan shroud using a soft brush | Helps prevent burnt odors during preheating |
Step 4: Complete Drying | Leave unit upright and open for at least 30 minutes before powering | Helps avoid electrical hazards |
Step-by-Step Interior Cleaning
- Inspect Safety Manuals: Verify your manufacturer’s position on interior care. For example, care documentation provided by Philips Airfryer Support provides model-specific clearance instructions for accessing coils and housing interiors.
- Wipe the Heating Coil: If permitted by your manual, use a barely damp microfiber cloth. Avoid applying liquid directly to the heating element, fan, vents, or internal electrical components.
- Clean Behind the Fan: Use a soft, clean nylon detail brush to gently sweep away trapped food particles around the fan shroud area.
- Wipe Down Interior Walls: Clean the metal interior housing with a damp cloth.
- Dry Thoroughly: Allow the unit to air out completely in a well-ventilated space for at least 30 minutes before plugging it back in.
Air Fryer Cleaning Methods Compared
Choosing the right approach depends on the severity of grease build-up, component materials, and manufacturer care limits.
| Cleaning Method | Best For | Materials Needed | Surface-Care Consideration |
|---|---|---|---|
| Standard Soap Soak | Daily post-cook oil removal | Warm water, mild dish soap, soft sponge | Generally suitable for removable parts |
| Baking Soda Paste | Stubborn burnt-on food layers | Sodium bicarbonate, tap water, soft-bristle brush | Apply softly; review basket care guidelines |
| Manual Odor Ventilation | Neutralizing lingering cooking smells | Open-air ventilation, damp wipe-down | Low-risk maintenance option |
| Damp Cloth Wipe Down | Inner housing & heating element | Lightly dampened microfiber rag, warm water | Consult user manual before cleaning inside |
| Abrasive Scrubbers / Bleach | Do Not Use | Steel wool, scouring pads, harsh chemicals | Avoid unless specifically approved |
Eliminating Persistent Odors (Safe Maintenance Method)
Sometimes an air fryer remains clean visually, yet retains persistent smells from fish, garlic, or spices. Following safe practices on how to clean an air fryer ensures odors are removed without damaging delicate components.
Parameter | Recommended Setting / Action | Practical Benefit |
Washing Solution | Warm water + mild dish soap with fresh lemon wash | Removes surface grease film and refreshes surfaces |
Cleaning Container | Standard sink basin or soft washing bowl | Safely washes removable baskets without spilling |
Ventilation Process | Keep drawer slightly open in a well-ventilated room | Allows internal air cavity to ventilate naturally |
Post-Clean Finish | Pat dry with a soft cloth and let ventilated air finish drying | Eliminates lingering dampness and leftover cooking smells |
- Check your manual to confirm general cleaning guidelines for removable parts.
- Wash removable baskets in warm soapy water mixed with fresh lemon juice.
- Rinse components thoroughly with clean warm water.
- Allow all parts to dry completely in an open, well-ventilated area.
- Keep the drawer unlatched slightly when stored to prevent lingering moisture from getting trapped.
For official guidance on home appliance electrical safety and consumer product standards, consult the U.S. Consumer Product Safety Commission (CPSC)
Air Fryer Care Do's and Don'ts
Proper handling ensures long service life for basket seals, heating elements, and non-stick finishes.
Do’s:
- Use Silicone Accessories: Line baskets with parchment paper inserts or reusable silicone mats to collect drippings before they touch basket metal.
- Dry Completely: Store the unit with the drawer slightly unlatched to prevent moisture build-up inside internal chambers.
- Avoid Overcrowding: Overfilling the basket causes food to splatter directly onto overhead heating coils, creating stubborn burned-on grease.
Don’ts:
- Do Not Use Metal Utensils: Metal tongs or forks scratch non-stick surfaces, exposing bare metal underneath that rusts over time.
- Avoid Aerosol Cooking Sprays: Some manufacturers advise against aerosol cooking sprays because repeated use may leave residue or affect certain non-stick surfaces. Check your manual and use a refillable oil mister if recommended.
- Never Submerge Main Housing: Immersing electrical housing in water causes severe component damage and creates serious electrical hazards.
How We Developed This Guide
This guide brings together general appliance-care practices, manufacturer guidance, and practical maintenance recommendations. Because air fryer designs vary, readers should always verify specific instructions in their product manual before applying liquid cleaners or deep-cleaning methods.
Frequently Asked Questions
Q1: What’s the easiest way to clean my air fryer?
When asking how to clean an air fryer daily, simply wash the cooled basket using warm water, mild soap, and a soft sponge after each meal.
Q2: How do I remove baked-on grease from my air fryer element?
To know how to clean an air fryer heating coil safely, unplug the unit, let it cool completely, and wipe the element with a damp microfiber cloth.
Q3: Can I clean my air fryer by putting water in it and turning it on?
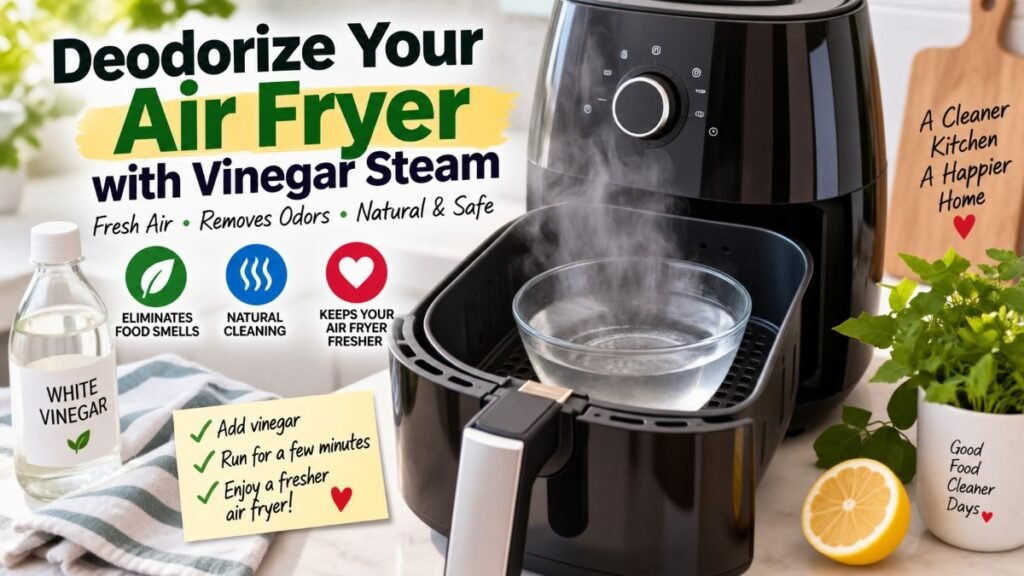
No, this is not a safe way when figuring out how to clean an air fryer, as internal steam can damage electrical circuits or heating coils.
Q4: How do I clean grease from my air fryer?
When learning how to clean an air fryer with stubborn residue, apply a soft baking soda paste over grease, wait 15 minutes, and wipe smoothly.
Actionable Recommendation
Understanding how to clean an air fryer safely comes down to routine prevention rather than heavy scrubbing. A quick wipe after cooking is usually much easier than trying to remove several days of baked-on grease.
To keep your appliance running efficiently:
- Immediate Action: Unplug your unit, let it cool completely, and inspect the heating element with a flashlight to check for oil splatter.
- Preventative Setup: Ditch aerosol cooking sprays in favor of a refillable pump mister, and keep baking soda on hand for weekly spot-cleaning.
- Optimization: Combine proper cleaning habits with accurate cooking parameters by bookmarking our air fryer cooking times chart to prevent excessive smoking and burnt residue.

Editorial Safety & Care Note
Air fryer designs, heating elements, and coating materials vary by manufacturer. Always follow your specific appliance’s user manual, especially before using water, soap, or cleaning agents near electrical components or heating coils.
About the Author
Dambar C.R. is a home appliance enthusiast, technology researcher, and founder of Smart Home Zenith. He focuses on practical home maintenance guides, smart home device optimizations, and appliance care strategies that help homeowners maximize product performance and longevity.