
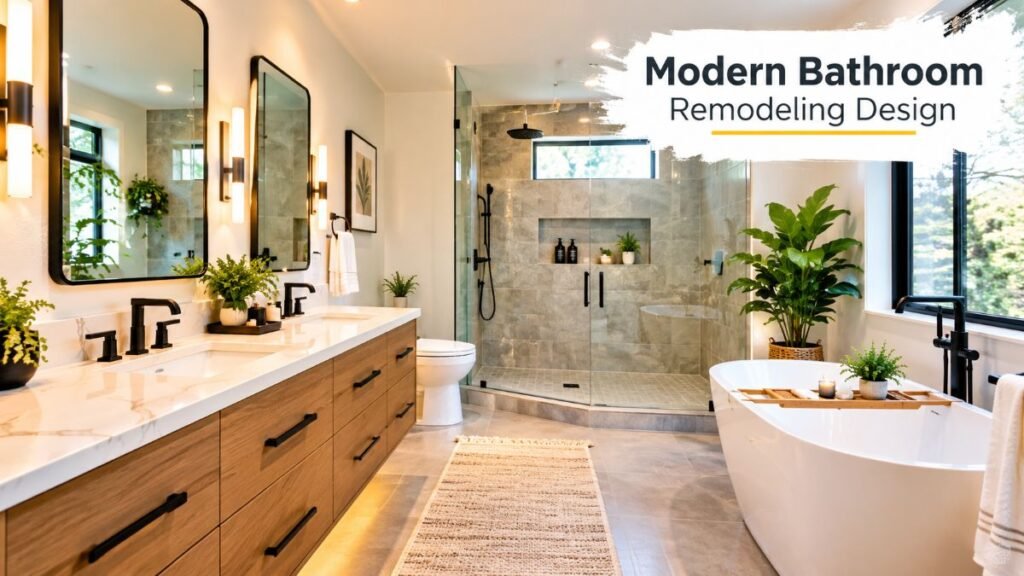
When a rotting subfloor ruins an expensive custom tile installation within a single year, the underlying culprit is rarely the tile itself—it is ignored and poorly executed infrastructure. Homeowners across the United States frequently obsess over cosmetic surface vanities while completely missing silent moisture intrusion and structural decay brewing behind drywall. This expert-level diagnostic blueprint exposes how to execute a professional-grade bathroom remodeling project that safeguards your home’s integrity, optimizes your budget, and stands up to long-term daily wear with proper installation and maintenance.
Why Most Renovations Fail at the Foundation
Jumping straight into aesthetic design choices and modern fixtures without auditing the core plumbing and structural framework guarantees costly rework. A successful bathroom remodeling project depends entirely on invisible systems sealed behind walls.
Before introducing a demolition tool or sledgehammer, locate and test your main water shut-off valves (stopcocks). Corroded, stuck, or brittle valves must be serviced or replaced immediately to prevent catastrophic residential flooding if a supply line snaps during wall tear-out. Furthermore, carefully calculating your home’s baseline water pressure and available flow rates ensures that newly installed high-flow showerheads and faucets operate at peak efficiency without unexpected pressure drops or mechanical strain.

Common Pitfalls: The Remodeling "Lessons Learned" File
Experienced general contractors and master plumbers repeatedly encounter predictable design blunders that drain homeowner capital and induce high stress:
- The Tub-to-Shower Swap: Ripping out every bathtub for an oversized walk-in shower reduces household versatility, bathing options for children, and future resale value. Try to retain at least one operational bathtub in the primary floor plan.
- The Grout-Color Choice: Light-colored grout can show discoloration and residue more readily in some bathrooms, while darker grout may make everyday staining less noticeable. Both require appropriate cleaning and maintenance to keep a clean, intentional finish over time.
- The Leaky Screen: Universal glass shower panels frequently leak at edge junctions due to poor alignment or cheap seals. Opt for custom-sized glass panels or a fully engineered wet room design to improve fit and reduce leakage risk when installed correctly.
- The Storage Problem: Suction-cup plastic caddies inevitably collapse under weight and clutter the shower view. Plan recessed tiled storage nooks directly into the wall framing during rough-in to secure durable, permanent shelving.
The Professional’s Workflow and Sequencing Timeline
A seamless renovation requires strict trade sequencing to prevent conflicting work cycles and expensive do-overs.
Phase | Expert Focus | Why it Matters |
Phase 1: Diagnosis | Structural Check | Identifies hidden rot, pest damage, or framing flaws prior to purchasing materials. |
Phase 2: Rough-In | System Layout | Positions supply lines, drains, and electrical junction boxes with precise accuracy. |
Phase 3: Waterproofing | Membrane Setup | Establishes the continuous protective envelope against destructive water migration. |
Phase 4: Finishing | Final Touches | Executes precise tile setting, grouting, and final hardware mounting. |
Maintaining synchronization among plumbers, electricians, and tilers prevents cascading two-week delays. For additional structural planning insights, consult professional project sequencing standards outlined by the National Association of Home Builders.
Practical Insight: Real-World Subfloor Discovery
Illustrative Field Example: Suppose your general contractor finishes wall demolition and uncovers a soft, spongy subfloor surrounding the toilet flange and shower drain area—a common symptom of chronic, unobserved micro-leaks.
- Immediate Action: Hold off on any tile placement or material orders until the underlying damage has been thoroughly inspected. Have the contractor identify and correct the moisture source, evaluate the subfloor and supporting joists, and determine the appropriate repair before installing new materials.
- Critical Questions for Your Contractor: Is the framing lumber structurally sound, or has decay compromised the joist? Where exactly did the moisture originate (supply line connection, wax ring failure, or unsealed tile flange)?
- The Decision Rule: Addressing moisture damage and structural problems before installing new finishes can help prevent additional damage and costly rework.

Ventilation, Climate Control, and Electrical Safety
A high-performance bathroom must manage heavy moisture loads to prevent indoor air quality degradation and structural rot.
- Ventilation Sourcing: Choose a bathroom exhaust fan based on room volume, applicable local building codes, and manufacturer guidance. For instance, the International Residential Code (IRC) outlines minimum baseline provisions such as 50 CFM for intermittent operation or 20 CFM for continuous operation. Always check the building requirements and local amendments that apply to your specific U.S. municipality, and account for duct length, bends, and static pressure resistance when selecting a high-efficiency exhaust fan.
- Electrical Compliance: Position switches, lighting fixtures, and outlets strictly in accordance with the National Electrical Code (NEC) and local jurisdiction requirements. Ensure all installations within wet or splash zones maintain proper physical clearances from tubs and showers, and utilize required GFCI (Ground Fault Circuit Interrupter) protection installed by a licensed, qualified electrician.
- Thermal Comfort: Consider a properly installed heated towel rail for added comfort and faster towel drying. Use an appropriately sized, externally vented exhaust fan to manage bathroom humidity during harsh winter months.
Budgeting Strategy: Professional Financial Allocation
Smart financial allocation separates a failing renovation from a lasting investment. Prioritize capital toward components subjected to daily physical stress and mechanical wear.
- Splurge On: Heavy-duty pressure-balancing shower control valves, solid brass faucets, and slip-resistant floor tiles. For long-term resilience against moisture, many builders rely on high-grade luxury vinyl flooring—provided the specific product manufacturer explicitly authorizes it for bathroom installations and wet-area use.
- Save On: Decorative elements like framed mirrors, wall paint coatings, and towel hooks that can be swapped out easily without major labor expense or structural tearing.
The Waterproofing Truth: Why DIY Sealing Fails
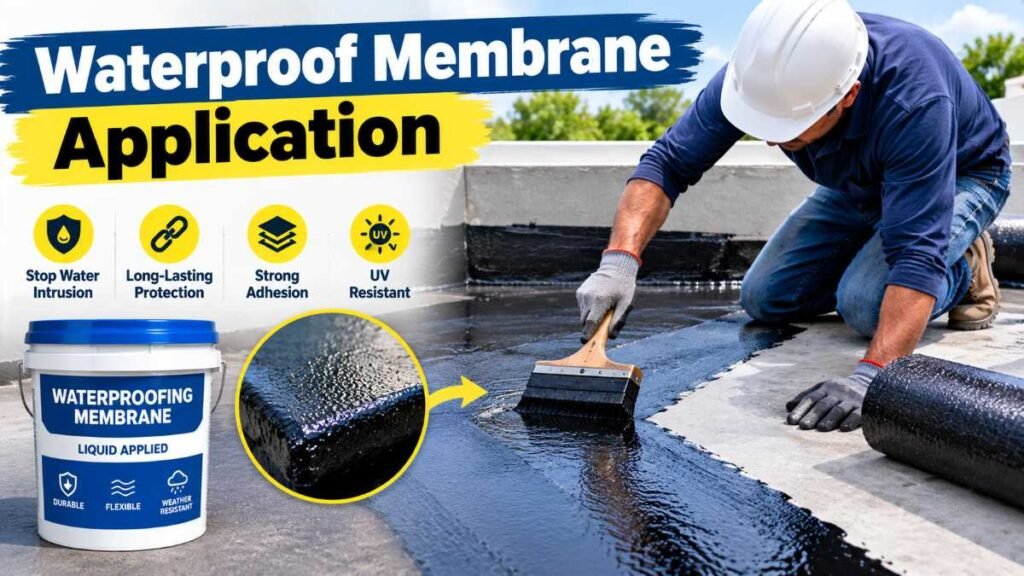
Grout and standard cement mortar are porous materials that function like sponges rather than absolute moisture barriers. Without applying a continuous liquid-applied or sheet membrane meeting rigorous product specifications such as ANSI A118.10 (referencing official standards documentation for load-bearing, bonded waterproof membranes via resources like the Tile Council of North America) alongside the specific waterproofing manufacturer’s installation guidelines, water wicks behind tile assemblies. This triggers structural wood stud rot, subfloor degradation, and mold growth with potential moisture-related health concerns. Always review manufacturer documentation and local building requirements to ensure proper membrane installation.
Project Management Realities
Coordinating multiple skilled trades in tight, confined quarters requires meticulous logistical planning. Hiring an experienced general contractor absorbs scheduling friction, checks precise drainage slopes, and ensures rough-ins align correctly before expensive finishing materials are applied.
The Pro-Level Bathroom Renovation Checklist
- [ ] Stopcock: Verified operational status of main water shut-off valves.
- [ ] Waterproofing: Verified waterproof membrane brand, application method, and manufacturer product documentation matching ANSI A118.10 guidelines.
- [ ] Lighting: Dual-layer setup featuring bright task light and soft ambient options.
- [ ] Ventilation: CFM rating matched precisely to local building requirements, duct resistance, and room volume.
- [ ] Fixtures: Compatibility confirmed with existing home water pressure, available flow rates, and manufacturer specifications.
Further Reading for Home Improvement
- Strategic Planning: Master essential layout adjustments and layout pitfalls to avoid before kicking off your build..
- Get a professional finish by painting kitchen cabinets yourself.
- Surface Selection: Pick the ideal flooring base for your culinary space with our expert material selection guide..
- Explore durable luxury vinyl flooring for high-traffic areas.
People also search for
FAQ 1: What are the main mistakes to avoid?
Answer: Skipping infrastructure checks, ignoring hidden leaks, and failing to test main shut-off valves before starting demolition are the most common project traps.
FAQ 2: How much does bathroom remodeling cost?
Answer: A proper bathroom remodeling budget depends on layout changes. Prioritize high-stress items like brass valves and slip-resistant tiles for long-term value.
FAQ 3: Why is professional waterproofing essential?
Answer: Standard grout absorbs moisture easily. Applying a certified liquid or sheet membrane is vital during bathroom remodeling to prevent subfloor rot and mold growth.
FAQ 4: How do I choose the correct ventilation?
Answer: Select an exhaust fan based on your room volume and local codes (such as baseline 50 CFM requirements) to effectively control indoor humidity.
FAQ 5: Should I hire a general contractor?
Answer: Yes, hiring an experienced professional for your bathroom remodeling ensures correct trade sequencing, proper drainage slopes, and strict building code compliance.
Conclusion: Build to Last
Your bathroom remodeling project should serve as a durable sanctuary rather than an ongoing maintenance headache. By anchoring your build in structural integrity, rigorous waterproofing, and professional sequencing, you ensure long-term durability with proper installation and maintenance.
Stop guessing behind your drywall—audit your shut-off valves today, verify your installer’s waterproofing credentials against strict product standards, and review manufacturer specifications before starting demolition to build with absolute structural confidence!

Authoritative Reference Sources
Construction Standards: National Association of Home Builders (NAHB) for project sequencing and contractor guidelines.
Safety Codes: International Code Council (ICC) for plumbing, ventilation, and 50 CFM rules.
Waterproofing Standards: Tile Council of North America (TCNA) for ANSI A118.10 membrane specifications.
Electrical Compliance: National Fire Protection Association (NFPA NEC) for wet-zone safety and clearances.
Editorial Disclaimer
The content provided on Smart Home Zenith is for informational and educational purposes only. Home renovation projects involve complex structural, electrical, and plumbing work. Always consult with licensed local contractors and structural engineers before executing major construction tasks.
About the Author
Dambar C.P. Rajbanshi is a seasoned renovation strategist and home improvement specialist. Dambar focuses on budget-smart construction planning, rigorous waterproofing standards, and functional home design, helping homeowners build spaces that balance aesthetic excellence with uncompromised structural integrity.